Want to produce your own music?
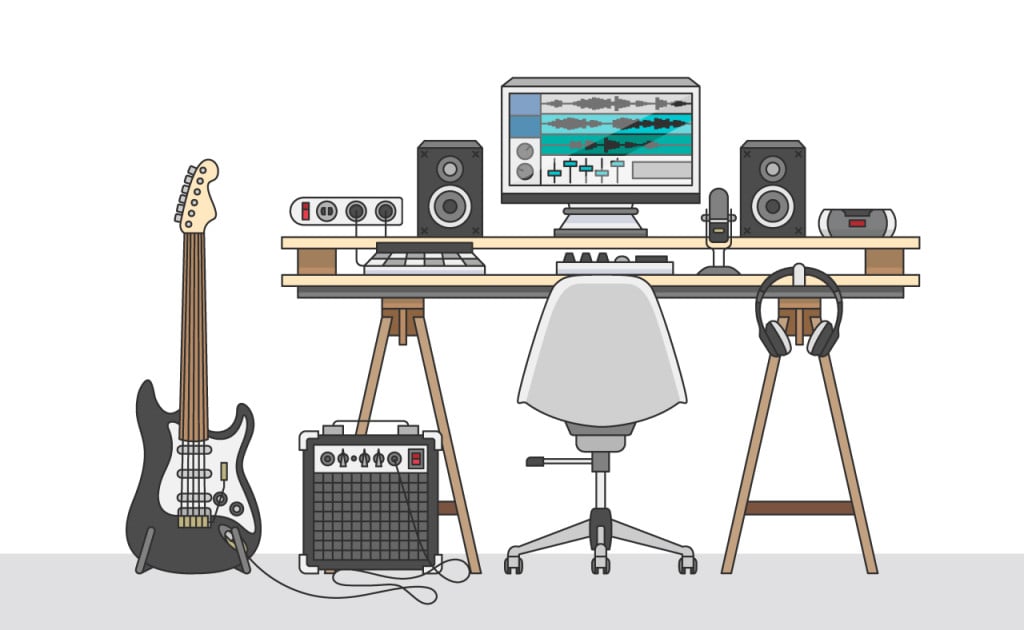
With the right equipment, you can jump straight in and focus on your first projects. Here are five simple, budget-friendly steps that will make it easy to set up your home studio. Plus, we will give you plenty of practical tips along the way.
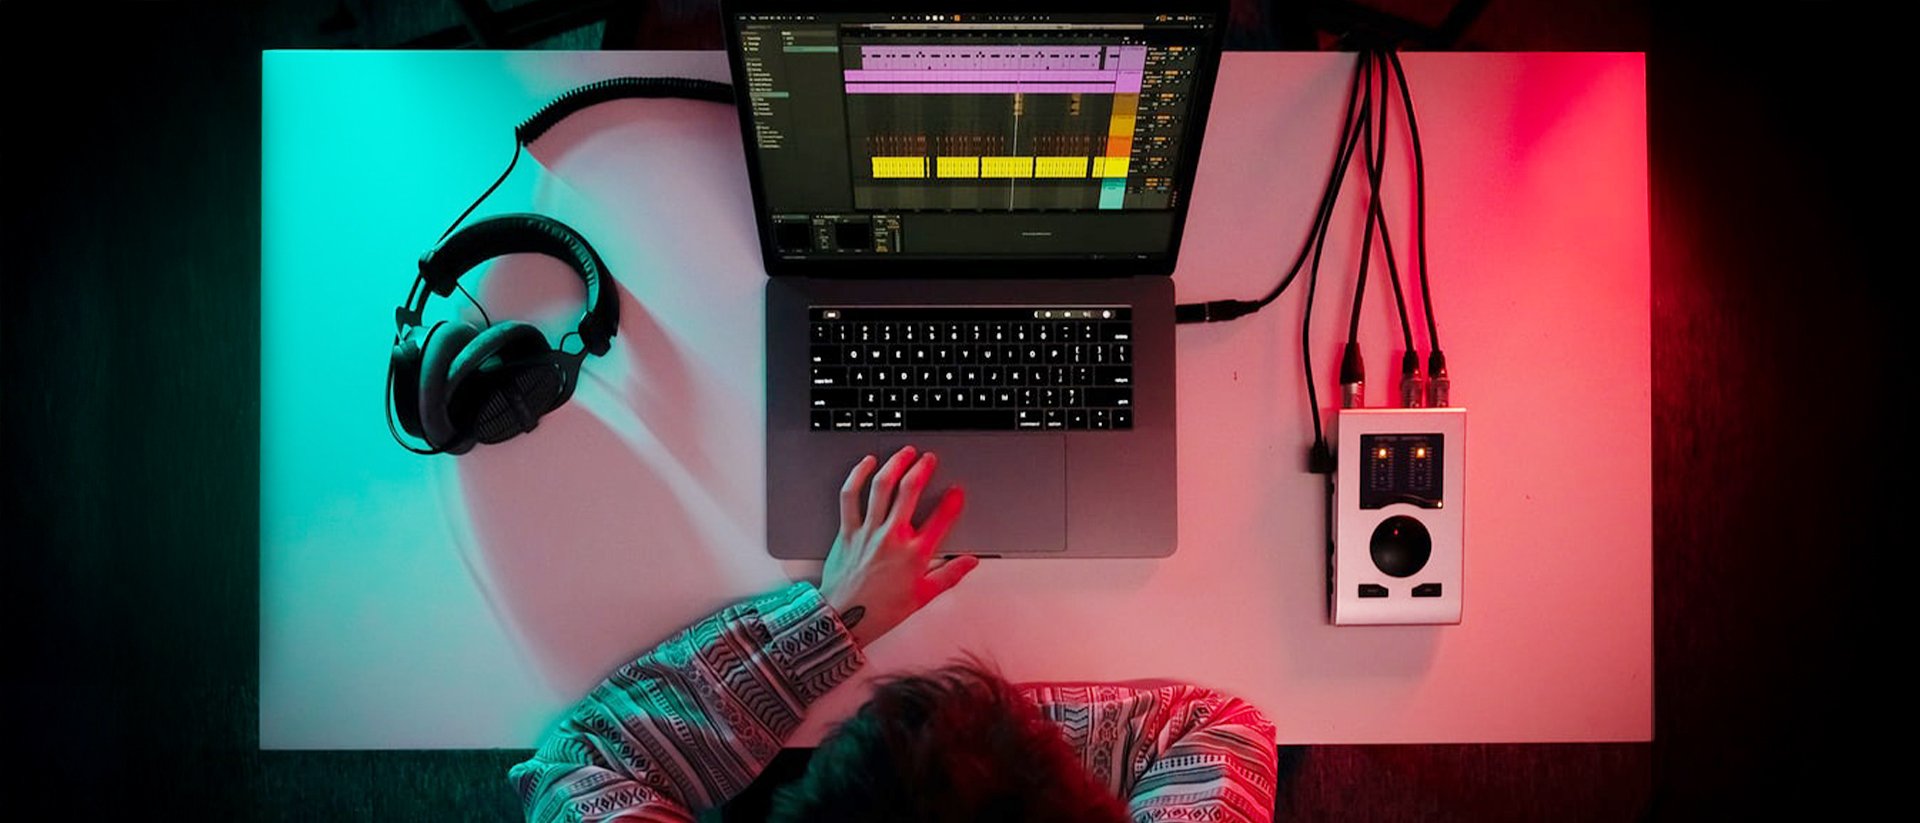
Step 1: Choose the right space to create
Your room and how you lay out your setup make a difference – especially if you’ll work with speakers instead of headphones only. For beginners, headphones are a great choice, as they allow you to work independently of the room acoustics for the time being (more on headphones in Step 3).
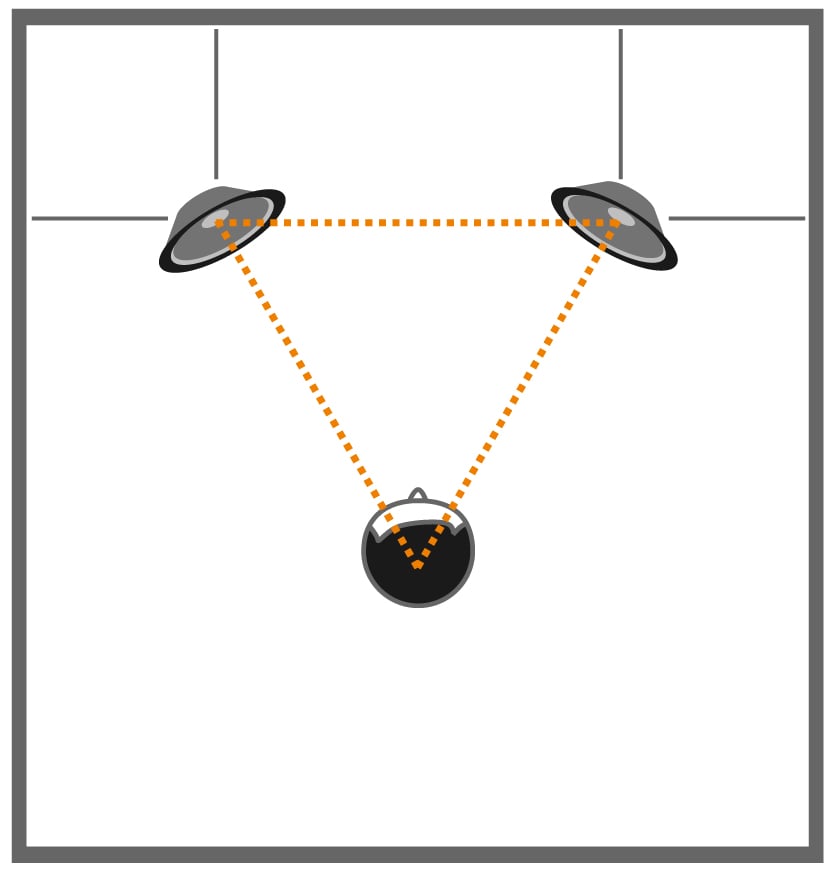
Once you decide to work with speakers, the room and your listening position become important. Speaker placement has a huge impact on perceived sound. The golden rule: symmetry.
Place your speakers the same distance from the front and side walls, and make sure the left and right speakers are equally far from you so that they form an equilateral triangle with your listening position.
Besides the correct placement, basic room acoustic treatment helps you judge sound more neutrally. Smooth surfaces such as windows, walls, ceilings, floors, reflect sound and can skew what you hear.
Targeted acoustic measures can reduce reflections and reverberation, thereby making the sound in the room more pleasant. Reverberation is the sound that remains in a room after the sound source – like a handclap – has already stopped. In a home studio, the reverberation time should be kept low. Because acoustics are so important for professional production, a room acoustics consultation is included for free with the HOFA-College online courses in audio engineering and music production.
Step 2: Pick your computer and audio software
Modern digital audio production needs a capable computer – whether you choose a Windows PC or Mac is up to you. In general, more CPU power and RAM means more flexibility for big projects with many tracks and demanding virtual instruments. A powerful graphics card is not necessarily needed. You should rather focus on the processor performance (CPU) and sufficient memory (RAM). Your hard drive should not be too small either, as audio software, music projects and, above all, sound libraries can take up a lot of storage space. For the start, a machine in the €500 – €1,000 range is usually sufficient.
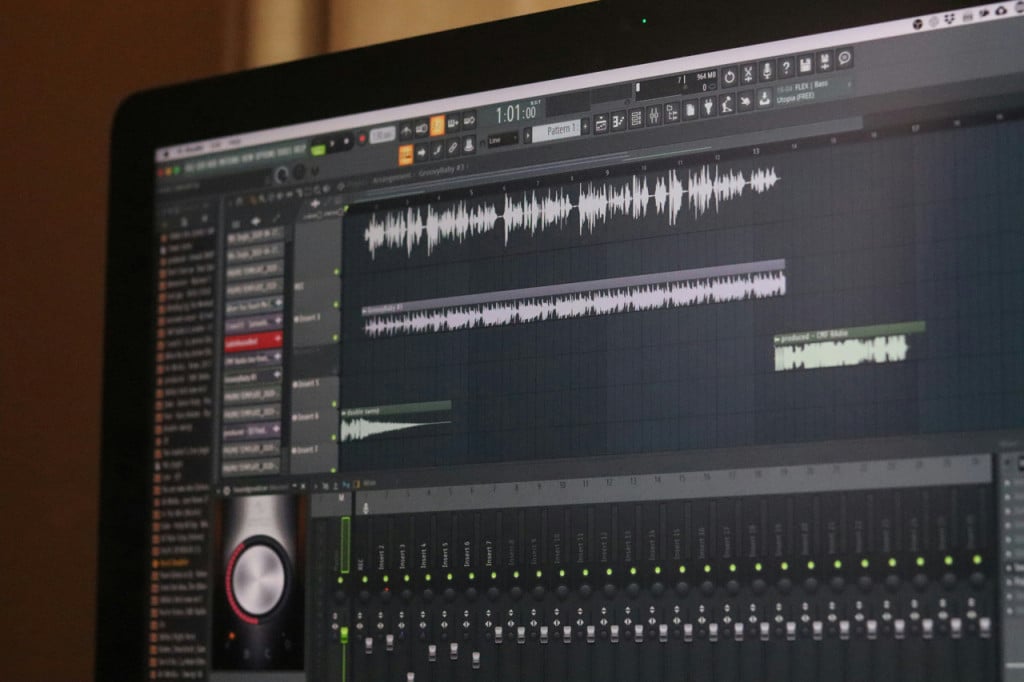
Once you have a suitable computer, the DAW comes into play. DAW stands for “Digital Audio Workstation”; it’s the music production software at the heart of your studio that enables recording, editing, and producing.
There are numerous programs from different manufacturers, each with different features. So think about what you want to focus on when producing. If you plan to produce mainly electronic music, Ableton “Live” or Image-Line “FL Studio” could be right for you. If you want to record vocals, speech, and real instruments, you’ll be well served by DAWs like Steinberg “Cubase”, AVID “Pro Tools”, or PreSonus “Studio One”. We also recommend the audio software “REAPER”, which offers extensive features at an affordable price and a long trial period. If you work exclusively on a Mac, Apple “Logic Pro” is a good and inexpensive option for you.
Step 3: Headphones or speakers – which is better?
Long story short, both can deliver great results!
Depending on your goals and intended use, either headphones or speakers can offer specific advantages. For getting started, we recommend a good pair of studio headphones. There are three types: open-back, semi-open, and closed-back.
Headphones offer the advantage that you can block out your surroundings and any poor room acoustics. For producing and mixing, it’s best to use open-back or semi-open headphones. These can have decisive advantages, especially when judging bass. In addition, both types are more comfortable to wear, making longer studio sessions pleasant.
Closed-back headphones are primarily used when you want to record an instrument or voice. Furthermore, closed-back headphones prevent sound from bleeding into the microphone you’re recording with.
Speakers, on the other hand, are better suited to judging the spatial depth of music. Another advantage is that you can evaluate how the music will sound at a concert or in a club. However, as soon as you want to work with speakers, you should also think about room acoustics, as these have a major influence on the sound.
Our tips for headphones and speakers:
- Sennheiser HD 490 PRO
Open-back studio headphones with a neutral sound, very well suited for mixing and producing. - Beyerdynamic DT 770 PRO
Inexpensive closed-back headphones – a true classic in every studio, especially for recording. - ADAM Audio T5V studio monitors
An affordable, great-sounding entry-level speaker – perfect for the small home studio. The ADAM T10S makes a good matching subwoofer. - Genelec 8040 BPM studio monitors
A professional alternative with convincing quality, also suitable for small to medium-sized rooms.
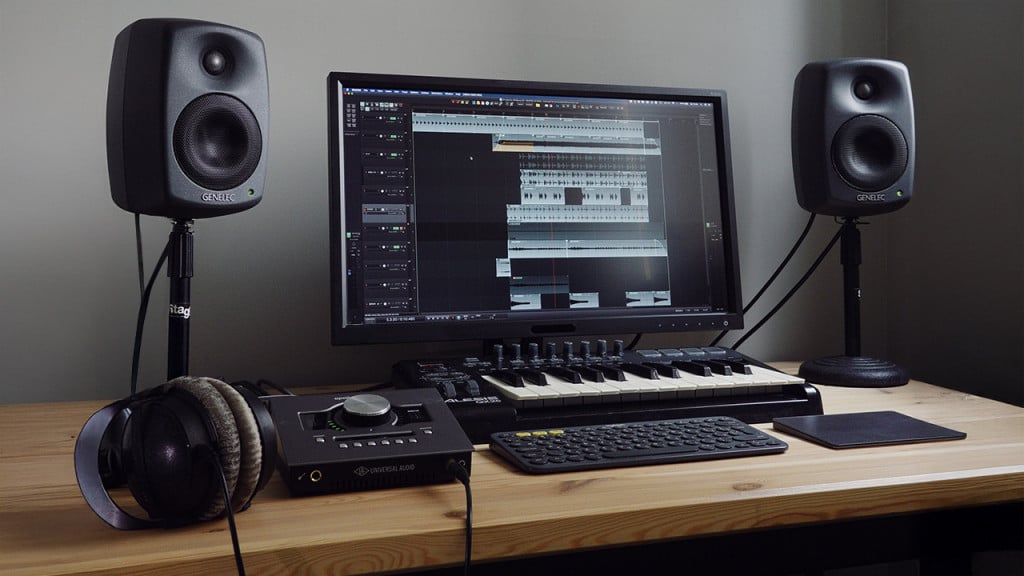
Step 4: Audio interface – yes or no?
An audio interface is a device that makes it possible to connect microphones, instruments, or other audio sources in high quality with your computer, and also offers connections for output devices such as headphones or speakers. Microphones and instruments deliver analog signals, but the computer only understands digital signals, so the audio interface converts these signals. It ensures a clear, low-noise sound and often delivers significantly better results than a computer’s built-in sound card. Many audio interfaces also have integrated preamps that boost the signal from microphones and instruments so that recordings sound louder and cleaner.
To get started, you don’t necessarily need an audio interface – simply plug your headphones directly into your computer and get going. If you plan to take things further, record instruments and vocals, or work with speakers, you should definitely get an audio interface.
The choice of the right interface depends on how many microphones, instruments, headphones, or speakers you want to connect to it.
Do you only need one or two mic inputs without additional features? Or are you planning to record an entire band using many microphones at the same time in the near future? In the second case, you need a larger interface with a higher number of mic inputs, where the range of functions and expandability can also play a role.
Our tips for audio interfaces:
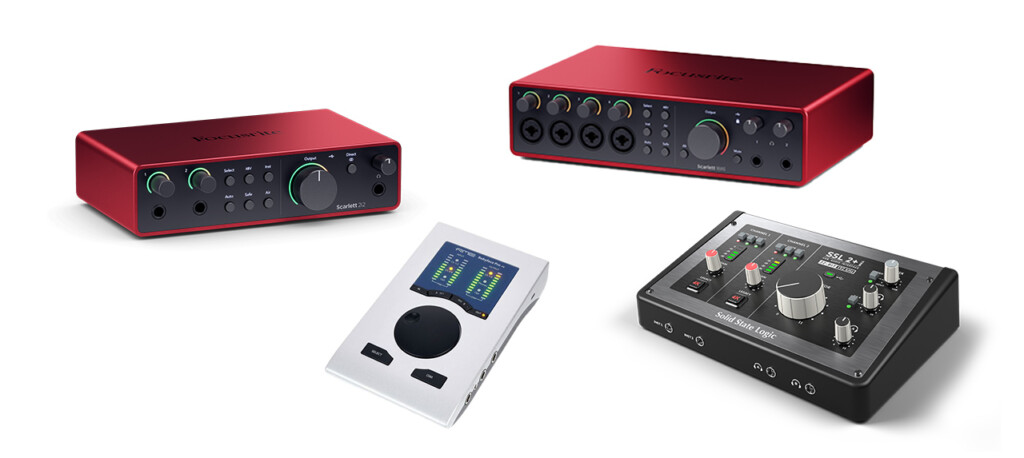
- Focusrite Scarlett 2i2
Solid and affordable USB audio interface with two inputs and outputs – especially suitable for home and bedroom studios. - SSL 2+ MKII
Stereo interface with excellent preamps and high-quality hardware – offering flexibility with two separate headphone outputs. - RME Babyface Pro FS
USB audio interface with good sound quality and flexible connectivity. - Focusrite Scarlett 18i20
Fully equipped and well-built interface, offering a total of 18 inputs and 20 outputs, which provides you with sufficient connections for larger recordings.
Step 5: Final preparations
Before you can really get started with your productions, you should pay attention to a few basic settings in your DAW. First and foremost, these are sample rate, bit depth, and buffer size.
The sample rate determines how often the audio signal is sampled and recorded in your DAW, which directly affects sound quality. It is specified in kilohertz, typical values are 44.1 kHz (the standard for music) and 48 kHz (often used for video). Bit depth indicates how much information is stored in each of these samples. A higher bit depth means more dynamic range – a greater difference between the quietest and loudest sounds. Nowadays, a resolution of 24 or even 32 bit has become common.
Buffer size controls how much audio material your DAW processes “in one go” before outputting it, and thus affects latency. For recording, it’s best to choose a small buffer size (e.g., 64 or 128 samples) for low latency. When mixing, you can set a larger buffer size (e.g., 512 or 1024 samples) to put less strain on your computer.
Don’t worry if all these terms seem overwhelming at first. What’s important to know is that you are good to go with a 44.1 kHz sample rate, a 24 bit depth, and – when mixing – a higher buffer size. Enter these values when setting up your DAW.
Conclusion
Building your own home studio doesn’t have to be complicated or expensive. With the right equipment and a few basic settings, you’ll soon be able to realize your first projects. The most important thing is to get started, experiment, and have fun.
Once you’ve taken the first steps, it’s mainly about expanding your know-how and gaining practical experience to take your productions to the next level. You’ll find countless tips and tutorials on the internet, but be careful: not all information is well-founded or correct! You’ll learn to produce music faster, better, and more effectively with a well-structured course program that also provides regular, personal feedback from professionals.
The officially approved and certified online courses in audio engineering from HOFA-College are designed for beginners, give you comprehensive knowledge, and include lots of practical tasks and exercises to help you achieve great-sounding productions.